We’ve all been there. We’ve got our trailer hooked up and ready to go on a camping adventure. We’ve gone through the whole process in our heads over and over. “Did I hook the travel trailer properly? Did I secure all our loose items?” And yet, as you pull away, you wonder what you might find when you open your trailer door at your destination.
You’ll develop your own process the more you camp, but setting up your campsite can be intimidating the first time. With practice and a helpful checklist, you’ll be camping like a pro in no time.
Benefits of an RV Setup and Teardown Checklist
A setup and teardown checklist can help keep you organized and ready for adventure at a moment’s notice. Want to get away this weekend? No problem. Packing up quickly to avoid a storm or meet up with a friend? Easy. When you know exactly what you need to do to hit the road and then set up when you reach your destination, you can take some of the guesswork out of your next trip. Plus, you can rest assured that the last time you packed up your camper, you stored everything away in its proper place, so it’s ready for use.
Checklists can also help you keep your camper in tip-top shape, so you don’t get stuck handling unexpected repairs or issues on the road. If you see anything amiss, make a note of it and check it out the next time you’re able. The more familiar you are with your rig, the better you’ll be at spotting issues and handling them promptly.
The setup and teardown steps that you take will depend somewhat on which type of camper you have (motorhome owners won’t have to unhook their trailer, for example), but the principles are the same. Take a look through the lists below, pull out what is needed for your particular RV, and get camping.
Campsite Arrival and Setup
Step 1: Survey Your Campsite
When you arrive at the campground, start by surveying your campsite before you begin setting up camp. These should be your first steps:
- Locate the electrical, water, and sewer hookups before you park your RV. This will help you decide exactly where to park based on the length of your water hose, electrical cord, and sewer hose.
- Look for potential obstructions, including low-hanging tree limbs and anything that can interfere with your slide-outs.
- Assess the slope of your site.
Prioritize your sewage hookup since it’s usually your shortest connection.
Step 2: Parking Your RV
Once you’ve picked the ideal spot within your campsite, it’s time to park your RV. The exact steps will depend on whether you have a back-in or pull-through site and whether you have a towable or motorized RV.
As you park your RV, follow these steps:
- Level your RV left to right. Don’t attempt to level it from front to back just yet. You may need stackable or rolling leveling blocks to properly level your trailer. Don’t underestimate the importance of this step, as your fridge, slide-outs, plumbing, and other components may not operate well on a tilt.
- Chock the tires on both sides of the rig. This is an important safety step, as it prevents your RV from moving. Never unhitch a towable trailer without properly chocking the tires first. If you’re using behind-the-tire chocks, place them on the front and back of the tires.
X-shaped chocks put pressure between the tires and allow you to lock down tires that are up on leveling blocks, when a normal behind-the-tire chock wouldn’t work.
Step 3: Unhitching Your Trailer
Once your rig is secured, it’s time to unhitch your trailer. If you drive a motorized rig, you can move on to the next step.
Unhitching is the process of separating your trailer from your tow vehicle. Before starting, make sure you understand the different parts of your towing gear. Here are the steps to follow:
- Lower your tongue jack. You may use a big block of wood or a trailer jack block.
- Unhook your chains and breakaway cable. If you have an electric tongue jack, leave the electrical wire hooked up for now.
- Remove the sway bar and weight distribution bars. Set these somewhere out of the way.
- Flip the locking lever and raise the tongue jack off of the vehicle’s hitch receiver. If you have trouble getting the hitch to release, try to carefully rock the tow vehicle or step on the bumper to apply more leverage.
- Pull the tow vehicle up a few inches. Don’t go too far, or else you’ll break the electrical connection.
- Adjust the tongue jack to properly level the RV from front to back. Once you have finished this step, you can move your tow vehicle.
If you can’t get perfectly level, make sure the heads of the beds in your rig aren’t lower than the feet.
Step 4: Stabilize Your RV
Exactly how you stabilize your RV will depend on your RV type and stabilizing gear. The main goal is to reduce rocking and bouncing in the trailer. Here’s how to do that:
- Lower the stabilizing jacks. If you have manual scissor jacks, consider purchasing a special adapter that allows you to use your power drill to turn the mechanism. You can also use jack pads to prevent sinking on gravel or dirt campsites.
Once the jacks are down, don’t raise or lower your tongue jack, as this can break your stabilizers or tongue hitch.
Step 5: Handle Your Hookups
Now it’s time to hook up your power, water, and sewer connections (depending on what amenities your campsite offers).
- Connect your electrical cord to the power box. This sounds easy at first, but there are a few things to note:
- Check the amperage available at your site. You may need an adapter (for example, if your rig has a 50-amp connection and your site only has a 30-amp outlet, you’ll need a plug adapter).
- Plug in your surge protector. While you may raise your eyebrow at the price of a surge protector, this important piece of gear can save you a lot of money in the long run. Bad electrical connections can damage your system and appliances.
- Plug in all cables before turning on the electrical breaker.
- Connect your water hose to the spigot and the hose to your RV’s city water inlet. Like with your electrical connection, there’s more to consider here than just hooking up:
- Make sure to use a potable water hose, not a simple garden hose.
- If you’re using an exterior water filter, attach it to your hose.
- A water pressure regulator is a worthy purchase to prevent damage to your rig.
- If you want to access water at the spigot in addition to the interior of your trailer, use a Y-shaped splitter.
- Carry along some extra washers and O-rings to prevent leaks. This is especially important at campgrounds with no-drip policies.
- Use your sewer hose(s) to connect your tank drain(s) to the campsite’s sewage receptacle.
- If your site is on a slope, you may need a sewer hose support to properly angle your hose toward the drain.
- Invest in an elbow fitting and a donut ring to properly seal your connection. A clear elbow fitting allows you to keep an eye on things.
- If you’ll be at your campsite for a few days, you may want to open up your gray tank water valve to allow sink and shower water to freely flow. However, be sure to close this before dumping your black tank, as the gray water is useful for rinsing out the sewer hose.
- In order to avoid bad smells, never leave the black tank valve open.
- Use black tank treatment on any toilets.
- Release the black tank valve when your black tank sensor shows full or you’re leaving the campsite. After that flows out, release the gray water valve. You may finish by running clear water through the sinks for extra flushing of your lines and hoses. Close both valves when the lines are empty.
Your RV bumper may be a good spot to store your sewer hose. Otherwise, use a sealable storage bin to keep the dirty sewer hose separate from everything else.
Step 6: Finalize Your Setup
Here are the final steps to setting up your campsite:
- Open up your slide-out(s) using the power control. Make sure to watch for obstructions both inside and outside of your trailer.
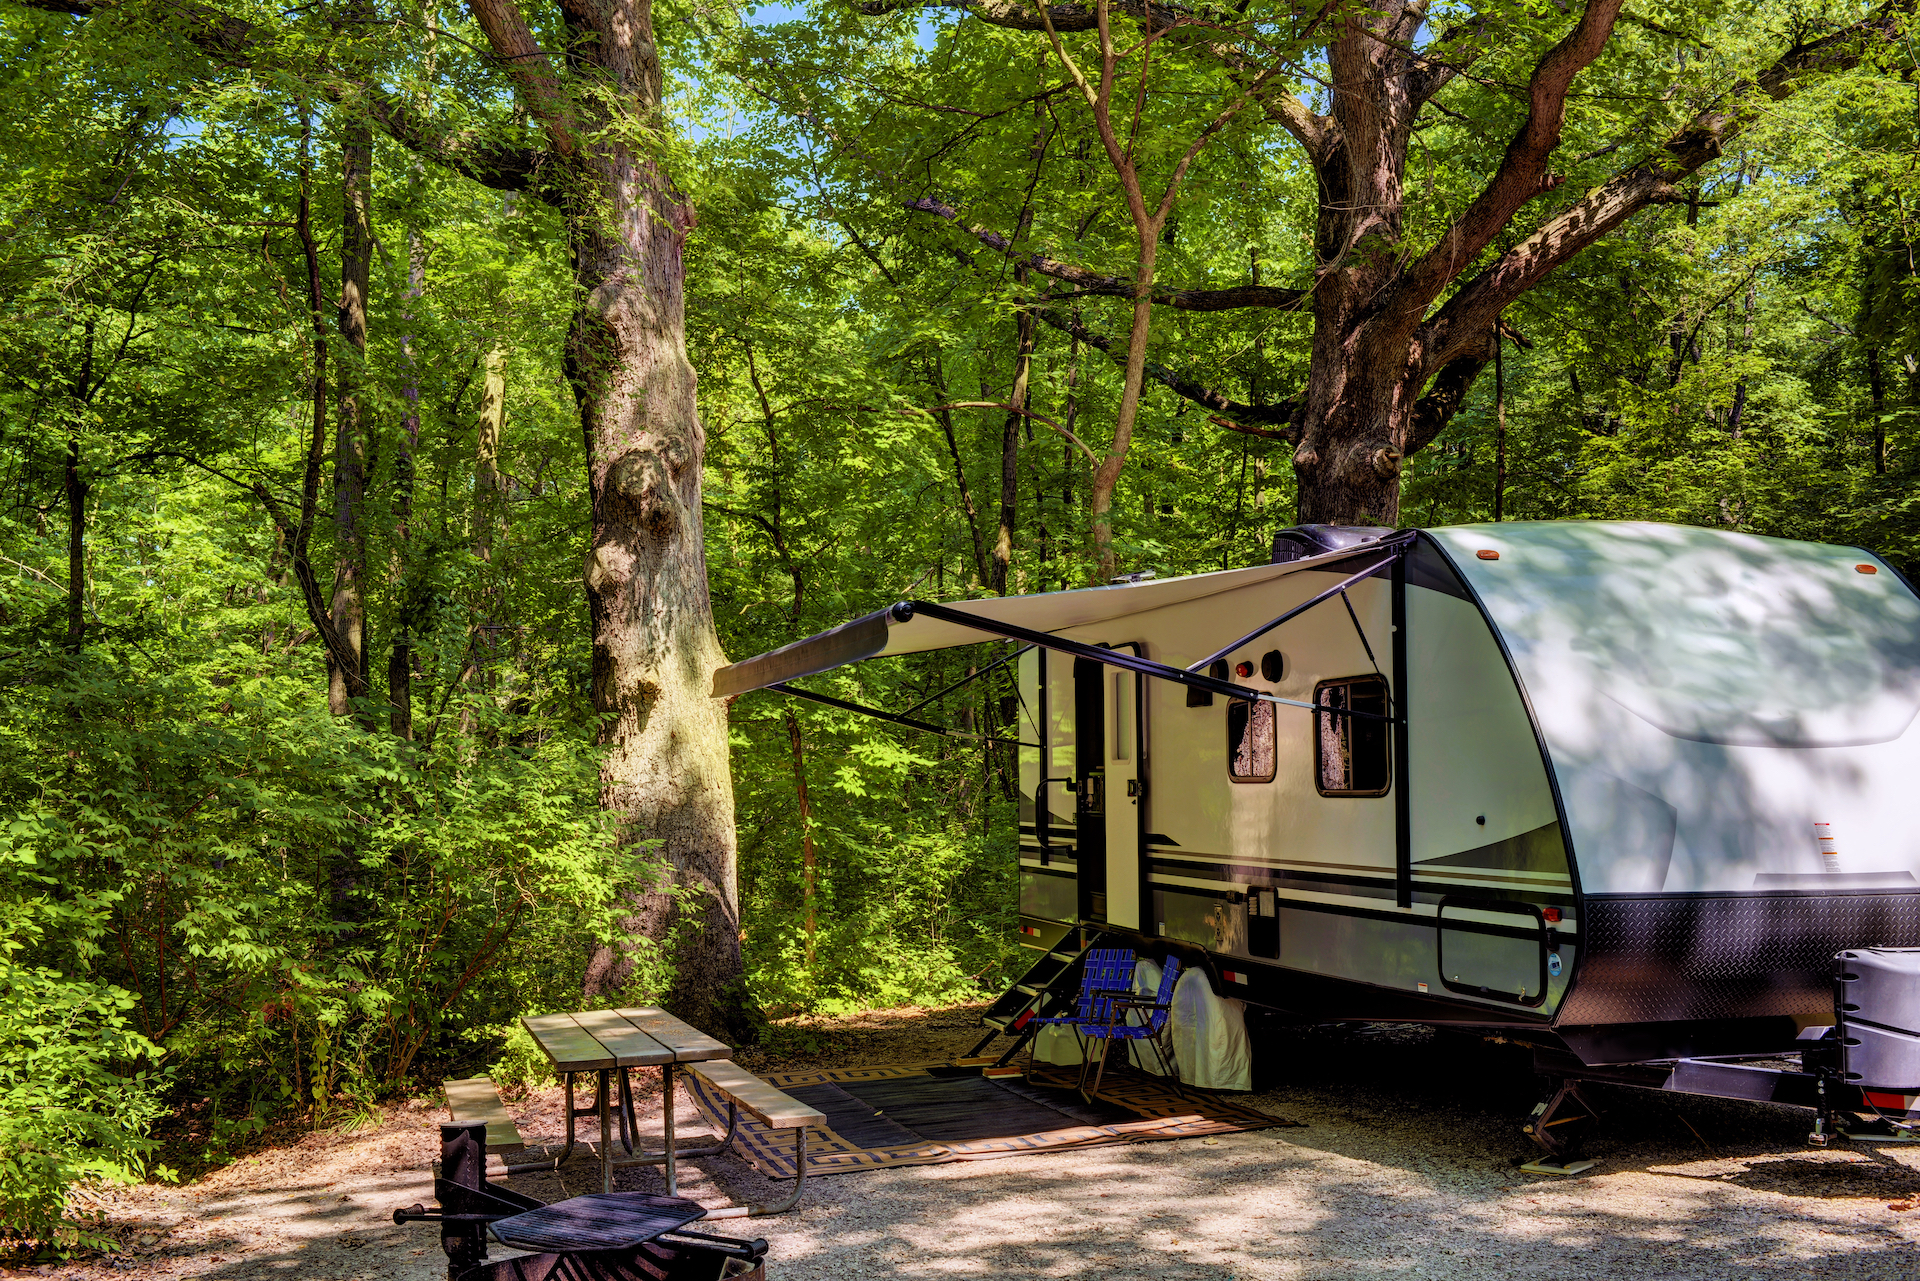
- If you plan to use the awning, put it out using the power control or manual crank. Pay attention to the weather for winds and precipitation before leaving the awning out.
- Set up your campsite with your favorite gear, like camp chairs, an outdoor rug, a camp kitchen, decorative lighting, campfire supplies, and more. This is your campsite, so use as much or as little as you need to enjoy your stay.
Don’t leave your campsite with the awning out. Many RVers have lost awnings and sustained damage due to unexpected winds and storms.
Arrival and Setup Checklist
Exterior
- Check level
- If necessary, level side to side
- Chock your tires
- Place support blocks under stabilizing jack
- Unhook your trailer
- Manually level trailer front to back or engage leveling system
- Connect surge protector and power cord
- Connect water regulator and hose
- Connect sewer hose if sewer is available
- Put out the awning and outdoor furniture, rugs, etc.
Interior
- Extend any slide-outs
- Turn on the refrigerator (or switch power source)
- Turn on heat/air if needed
- Light pilot light for the oven
- Turn on water heater
- Unpack secured items
- Set up furniture, as needed
Campsite Departure
Breaking down your campsite is essentially performing the setup tasks but in reverse. Here’s a checklist to help guide you through the process.
Teardown and Departure Checklist
Interior
- Turn off A/C or heat
- Turn off the water heater and pump
- Leave enough water in toilet to make a seal, but not so much that it will splash out of the bowl when you drive
- Switch refrigerator to in-transit power source
- Secure refrigerator bars
- Assure all lights, radios, and TVs are off
- Close and secure roof vents (dust will come in if you don’t)
- Lower TV antenna
- Secure and lock windows
- Secure all loose objects
- Secure and lock all cabinet doors and drawers
- Make sure the oven pilot light is off
- Close slide-outs
- Close and lock your door
Exterior
- Retract and secure the awning
- Make sure all outside gear (tables, rugs, solar suitcases, satellite dishes, etc.) are stored away properly
- Disconnect, drain, rinse, and store all hoses
- Unplug shore power cords and adapters
- Turn off propane
- Stow entry steps
- Retract stabilizing jacks
- Hitch up to the vehicle
- Attach break-away switch
- Attach safety chains
- Attach weight distribution
- Plug in 7-pin trailer plug for towing
- Remove and stow leveling blocks
- Remove and stow wheel chocks
- Check trailer lights to make sure they are working properly
- Check tire pressure
Final Walk Around
- Double-check that all outside compartments and doors are locked
- Walk around, make sure everything looks stored properly
- Look above, below, and around the trailer for any connections or items you may have missed
- Clean up any trash and leave the campsite better than you found it
This article has links to products that were carefully selected by our editors. We may earn commission on your purchases from these links.